Sunday, December 29, 2013

Recipe: Pimms' Cup


So, I have a friend who swears by Pimms no. 1. I have never tried it before. I think the only time I really even considered purchasing it, was in this small booze shop in Scotland when I lived there and I was looking at things I had no idea what it was. After passing it for a small, teeny whiskey bottle which was gross, I kind of forgot about it until recently. Keith got me a book, which mentioned Pimms and I decided it was time to try it.

I know, Pimms is suppose to be a more summery drink. That being said, it was in the mid-40s yesterday!! 40S!!! So, of course after walking around without a coat on, it felt like summer. Keith and I whipped up a few Pimms' Cups.


Here's how:

1 and a half ounces of Pimms No. 1
A lemon Lime soda

Ready? It's so hard.... Mix them in a cup. We added an ice cube and some mint and cucumber for garnish. Then enjoy responsibly.

Hope everyone had a great holiday season! My resolution is to post more in the new year, so let's hope I stick to it!


Saturday, December 14, 2013

Gift Idea: Monogram Mug

So, I found this cute little pin on pinterest, however every time I saw it it had no link to a directions page. So, I kept putting off trying it. Well, I decided to give it ago, so that I can make someone a special gift this holiday.
It's really easy and really cute. I hope the person who is getting this, likes it!

So here's how to do it:

You need:
  • a sharpie, I used gold
  • A white mug, got mine cheap from Target
  • a letter sticker, found mine in the scrapbook section
Stick the letter to the mug. Slowly start putting small dots, using the tip of the sharpie to outline the letter.


Keep going until you have outlined the whole letter. Then start on the fancy designs you want to make. Like this:
Then once you are done. Peel off the sticker and discard. Then put the mug in the oven at 350 for 30 minutes. Keep an eye on it though. Then pull it out and let it cool down for one hour before giving it a quick wash by hand. This lovely gift is a handwash only present :)

Anyway, happy making! :) 


Tuesday, December 10, 2013

Gift Idea: Dark Chocolate Gummy Bears


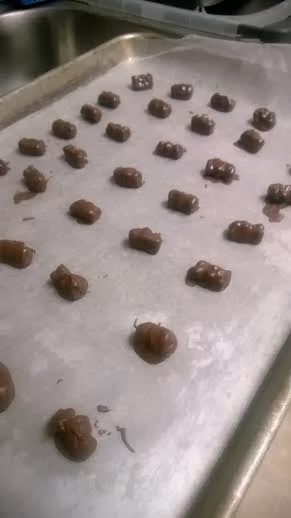
One day, I walked into a small candy shop and saw a bag of chocolate covered gummy bears. Thinking Keith might like them, I bought them, then quickly ate the entire bag. NO JOKE. They were delicious. So, I decided it was time to make some to give out as a small gift for some friends. So, here is the recipe. They sound weird, but really they are quite delicious.

Melt that chocolate. I used dark chocolate and my fancy chocolate melter. You want a smooth consistency, without it burning. Using the microwave is tricky, because chocolate can end up burnt quickly.

Once it's melted, drop in a gummy bear. Be careful not leave it in too long, or it will get gummy and melt. I used a fork to flip it over and cover it with chocolate goodness.

To look like this beauty.

Place on waxed paper to dry. They might not be the prettiest thing I ever made, but man they taste pretty good. I plan on wrapping them out and giving them out to a few people who like candy almost as a much as I do.

I plan on posting a few other gift ideas for the upcoming holidays. So keep an eye out! Happy making :)


Sunday, December 1, 2013

Recipe: Crockpot Mac and Cheese

I hope everyone had a great Thanksgiving. I know there hasn't been a blog post in awhile, I had some personal things come up and wanted to deal with them away from the computer. Keith and I changed our plans and ended up heading to my parents to celebrate Thanksgiving. After a normal 5 hour drive turned into a 8 hour drive, we finally got to Detroit.

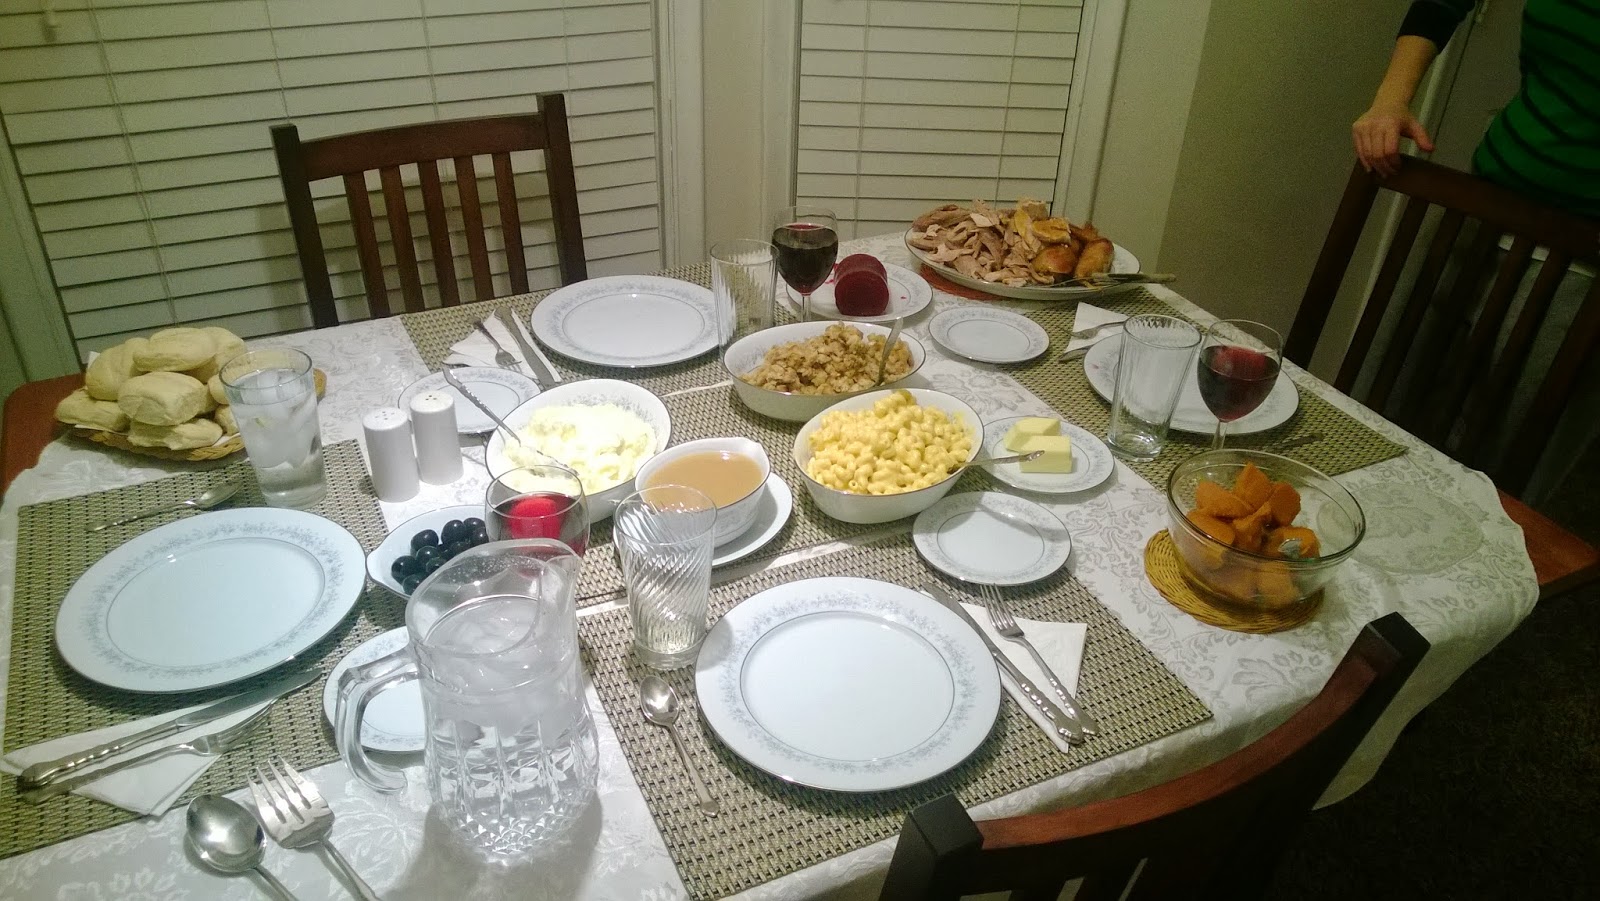
We had a small dinner, only my mom and dad and Keith and I. My sister, brother-in-law and niece were visiting his mother, and we all needed a small dinner since only a week ago we gathered to say goodbye to my Grandpa. So, my mom and dad cooked a feast for us! Look at the spread.

However, I wanted to share with you my contribution. I made the best mac and cheese in the crockpot. And lucky you, I am willing to share my recipe!

What you need:
-One box of noodles, I used cavatappi this time but shells also are good
-2 cans of Cheddar Cheese Soup
-4 tablespoons of butter
-1/2 cup of sour cream
-1 bag of Colby jack cheese shredded
-1.5 cans of milk
-salt and pepper

Okay, now how do you cook it?
1.) Add noodles to a pot of boiling water. ONLY COOK FOR 6 MINUTES. You don't want to over cook, trust me
2.) Spray the crockpot with cooking spray. Put in the cheddar cheese soup. Measure out a can and half of milk and put that in. Place butter in and sour cream and mix well.
3.) Add noodles and stir well. Add salt and pepper to season
4.) Cook for about an hour on low. Then add bag of cheese and turn crockpot to high setting for 45 minutes.

Do not overcook the macaroni, I cooked it for about an hour and 45 minutes. If you overcook it, the noodles turn all mushy. I have done this recipe twice now and both times it turned out great! It was a big hit at thanksgiving and was always requested for an upcoming family weekend.

Enjoy!

Sunday, November 10, 2013

Chicago visit

Two posts in one weekend? GET OUT! I know. I am really trying to get out cleaning my apartment and sorting through household stuff to donate or save. So, I am distracting myself by playing on the internet, and looking through photos from last weekend.

Keith and I went to Chicago for the weekend. We live in the burbs, and we are really itching to get back to the city. We rented a hotel room one block away from the Mag Mile and our adventure began. On Friday we attended a wedding of a friend at a neat venue full of old things for sale. After falling in LOVE with 1930s art deco lamps for $400 a pair, that Keith sweetly talked me out of, we had a blast.

This was the neat-o venue.
 Look at this dream boat
 I seem so unsure about this.. 

Ah, screw it, they had wine. (really, I was getting wine for someone.) the pillars behind me formed a cool room with a vintage couch and coffee tables. The also had a skeeball machine, which Keith told me when we are rich we can have. 

 Anyway, if you are in Chicago and have some money burning a hole in your pocket or just want to see really cool things, you should look into Salvage One. It was pretty neat.


Saturday, November 9, 2013

Recipe: The Barbara

So, Keith is a busy man.  This week our first night with any time together, Wednesday, I came home and needed to go to the doctors right away about my knee which has been acting up. After 2 hours and x-rays, we found out my injuries are not too serious, but need to be looked after. But number one, is stay off it as much as possible and take some medicine I got. There's no drinking on my pills, and usually Keith and I unwind with drinks on Friday and catch up. It's like a date night at our apartment. So, instead I made him a drink to try out. This drink is called the Barbara. I found the recipe while searching for 1920s cocktails. 

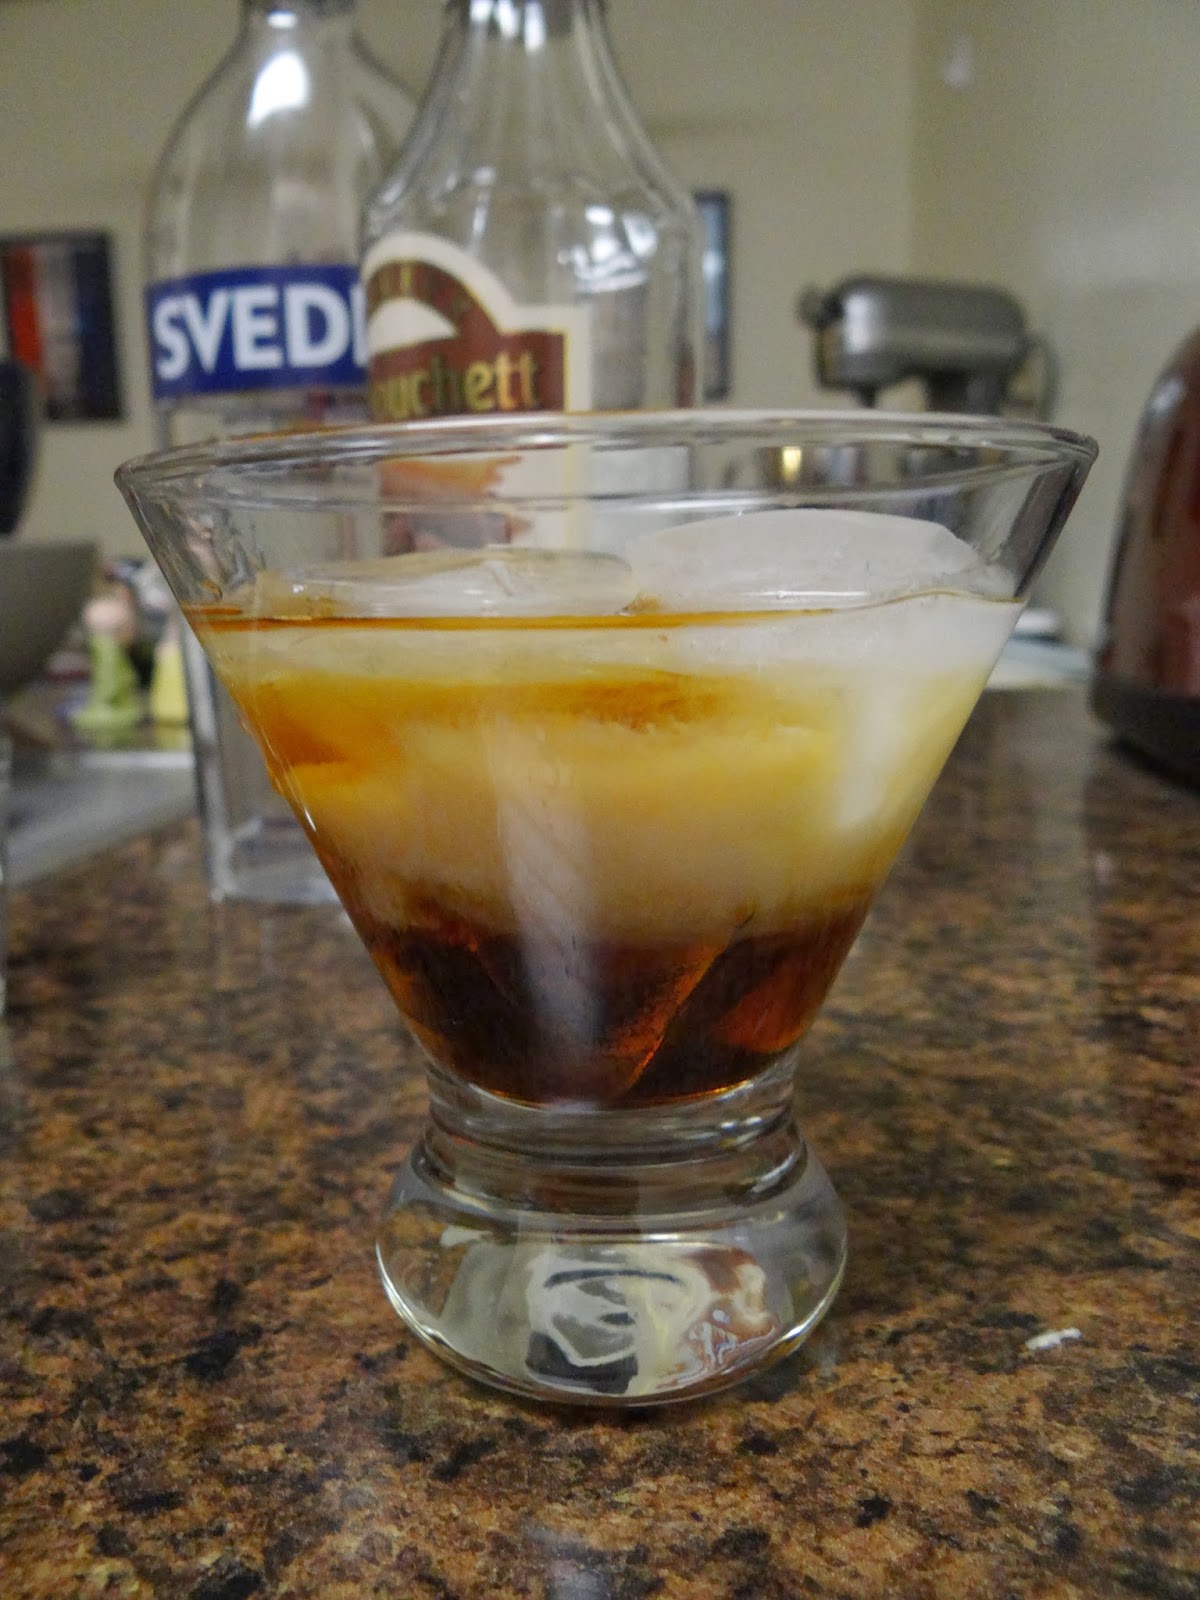
The Barbara is a earlier version of a white russian. I have yet to try it, but Keith enjoyed it a lot. Here's the (super!) easy recipe.


  • 1 and 1/2 oz of vodka
  • 3/4 oz of creme de cacao 
  • 3/4 heavy cream
Place ice cubes in a cocktail glass. Pour in vodka, then creme de cacao. Lastly float cream. Keith wanted to use milk instead of cream and it was still great!  Don't forget this recipes main ingredient is vodka, so you want to drink responsibly. This drink would be fantastic at a 1920s party.

enjoy.


Tuesday, November 5, 2013

What to do with that left over candy corn

I love candy corn as much as the next person, actually I love those little pumpkins more. Do you still have some candy corn left over from Halloween?? If so, this fun treat is for you!

I made this chex mix for a team meeting. I don't have a real recipe, I just threw things in a bowl. So, sorry no measurements, but this what I used.
  • chocolate covered candies
  • chocolate drops
  • caramel popcorn with peanuts
  • pretzels
  • cinnamon chex cereal
  • candy corn
  • candy corn pumpkins
  • chocolate graham cracker bites
Mix them all together. Delish!!!