Showing posts with label jewelry. Show all posts

Wednesday, March 5, 2014

Converting clip on earrings to hook earrings, part 1

In honor of March is Craft Month I deiced to take on a few projects. One of those is turning my grandma's collection of clip on earrings to wearable dangle earrings with a hook. My grandma never had her ears pierced but loved earrings. I have my ears pierced but never wear earrings. This about to change. I just inherited my grandma's earring collection. I have at least six tackle boxes full of earrings.


My grandma passed away while I lived in Glasgow back in 2005. My grandpa held on to these, and I got them recently, after his death in November. My grandpa was one of my most favorite people on the planet and even writing this post makes me misty eyed. I got a lot to remind me of my grandpa, but these are special. You see he was a boat maker by trade, but he also made and fixed jewelry, mainly for my grandma. Once I start my jewelry business, he kept telling me if I moved back to Detroit, we would go in business together. And man, I wish I did.

Anyway, I want to show the process of turning her clip-on earrings to wearable earrings for me. I find clip-ons horribly uncomfortable. So, this is my easy post, my next one will involve a dremel and Keith helping me to get the backs off these things.

First, I got out my supplies. I picked out my favorite, easy to change earrings, two hooks and my trusty pliers.

I removed the jump ring (the circle connector), careful not to bend it, because I wanted to reuse them. Then I removed the clip on.

I attached the hook to the jump ring.

 Carefully reattach to the earring, closing the jump ring tight, so you do not lose the earring.

Done!


Me showing off the earrings, excuse the disaster that I am today.

That was easy enough, right? Well, watch for part 2 which I promise will be an adventure for all of us.


Sunday, March 2, 2014

D.I.Y. Wire Wrapped Ring


March is National Craft Month! Did you know that? Megan shared the news to me this morning in a text message. So, I stopped procrastinating and put together a post that I hope you enjoy.

Keith and I visited the Art Institute in Chicago for my birthday. I fawned over ancient Greek pottery, became absorbed in Monet's paintings and devoured a delicious chai tea while overlooking their modern wing. It was the best. And this happened:


What.a.babe.

While, I was walking through an exhibit about Greek and Egypt and came across these two tiny wire wrapped ring of gold. I got really excited and pointed them out to Keith because I have been making these wire wrapped rings for a few years now and it was fun to see such early examples of them. So, I decided to try and make a tutorial on how to make them on this blog. It seems really complex, but it's not, I promise and soon you will be whipping them out in under three minutes.


 Okay, you ready? Let's go.

 You need:
  • A bead
  • Wiring, usually I get 18 gauge
  • A mandrel (this you might need to order online)
  • pliers (any craft store has)
  • cuter (any craft store has)
  • wire straightener (most craft store have this)


Cut a length of about two to three feet of wire. For a good rule of thumb if you are doing a full wrap, go three feet, only half or smaller go two. I usually just measure with arm spans. Once cut, straighten wire, by holding on end and running the straightener through the wire around three times. Try to get out all the kinks and this will make it a bit stronger too.


Move the bead to the center of the wire, and fold the wire gently to make a small indentation around the wire. Like so:


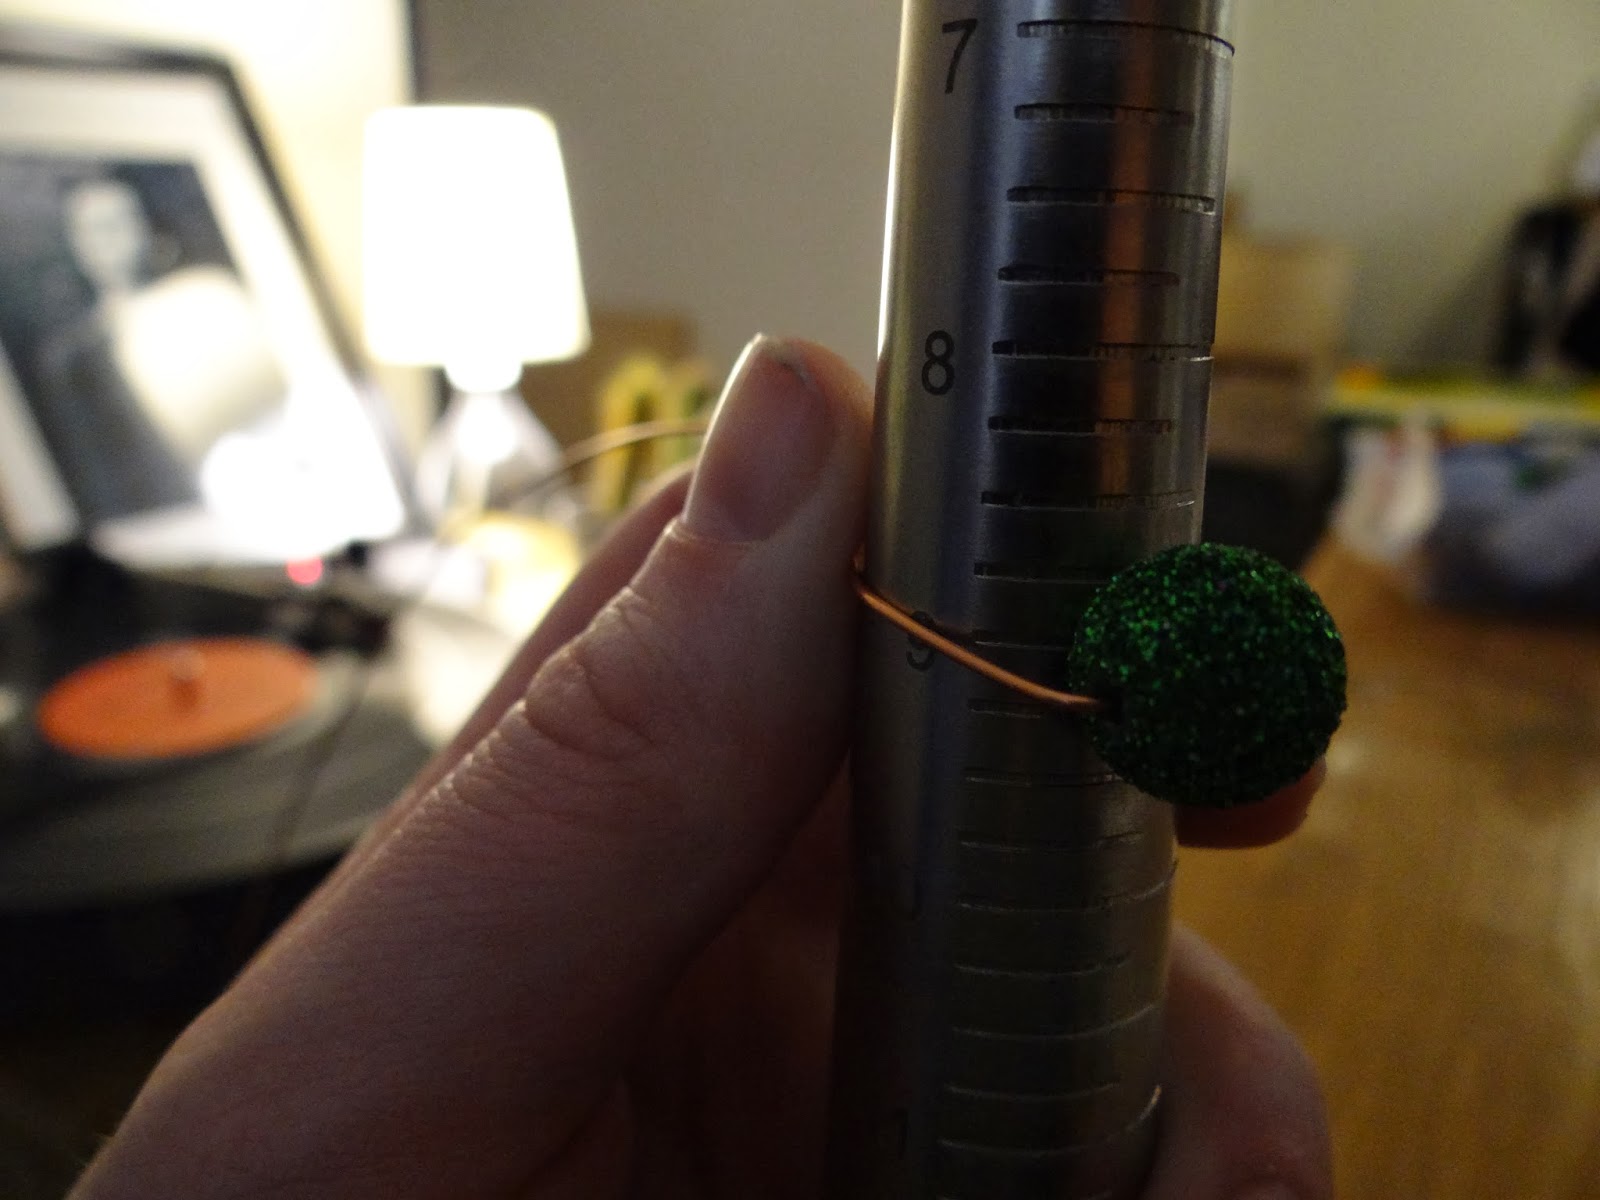
Place the bead on the mandrel. Make sure you place it on the size that you want to make it, then if you are wire wrapping only half, add half a size. If you are doing a full wrap, add one size. Once the bead is on the right notch on the mandrel, pull both sides of the
wire to the back end.


Wrap the wires around the back end so they cross over, like so.

Take one side of the wire and place over the bead, the other side goes under.

Take one of the ends and start to wrap around just the bead.

Once you have a good three or four loops around the bead, start with the other side of the wire and do the same amount.


Remove from the mandrel, and it should look like this.

Pick one side and start wrapping the wire around the base in small tight coils. You should be able to do this with your hand, but some gauges might need some pliers help. I always take the loose wire and wrap by going through the hole to the outside, like so:


Once you get one side, repeat with the second and try to make them even.


Clip off the extra wire and use your pliers to push the rough edges down so they will not hurt you when you wear them. Repeat on both sides.


There you have it!


I hope you enjoy making these. I love working with metal, so I find these rings easy and fun to make, and weirdly calming to make as well. I am sorry for the format of this post, I was trying out new things and I wasn't getting what I wanted, however I thought it looked okay. I promise I will figure out how to blog better one of these days. Until then, happy crafting!




Thursday, February 13, 2014

How to: fabric button bracelet

You guys! Today we hit our 1000th blog view!!! How exciting! and what's more excited then that? TOMORROW, Megan is coming to visit me. So that means the two lovely ladies of this blog will be together again! (even if just for a weekend) I am so excited. A weekend of crafts and fun catching up. I cannot wait.

I have been really missing crafting and creating lately. I used to make so much jewelry, but lately I have found it hard to get started and really uninspired. But! This week I finally had a great idea for a different type of bracelet. I kind of loved how it turned out. I plan on making more and in bright colors. But I thought I would share this easy bracelet with you all. So, let's get started.

I know you are asking, "Oh man, Jenn that is cool. How can I make it?"
Well, it's easy!!!

You need:
  • A fabric button kit, large size
  • a chain bracelet blank 
  • Strong glue
  • fabric (not pictured)
  • pliers (not pictured)
Use your pliers to remove the part of the button that is sticking out. I found it easiest to squeeze the inside part and pull out the loop from the top. Repeat with all 6 buttons in your button kit.

Cut the fabric you want to size given to you on the button kit box. My template was located on the back of the box. It will usually say where it is in the kit.


Then take the fabric and place it pattern down in the plastic mold. Place the rounded top of the button down next. Let the fabric bunch, and between the fabric bunches and the rounded part of the button lay the bottom of the button down.

Then push down hard.

Continue to you get all your buttons done. I did 6 since my bracelet had 12 blanks, so two blanks per button.

Then glue on each button. Again, 2 blanks per button.

Let it dry face down. It took a few hours.

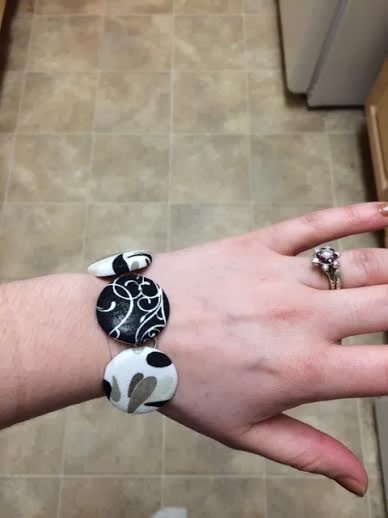
Finished product!

Sorry, I am trying to figure out my camera. My photos are too dark, but I hope you get what I was trying to show.

Happy crafting!


Friday, January 17, 2014

D.I.Y. Sparkle ring

I have a jewelry business. I used to be so active in it and do craft shows and sell a bunch of etsy, but I got pretty busy. I haven't made anything new in a really long time, and got a bit antsy. So! I decided to make this really cute and simple ring! All you need is three, YES THREE, items to make it too.

All you need is Mod Podge dimensional magic, fine glitter, and a ring blank. The ring doesn't need to have a deep bezel, but it should have an indentation. I also grabbed a paper cup and cut a slit in the bottom, and I used it as a ring holder. Anyway, put a thin layer of the mod podge dimensional magic down and then sprinkle the glitter on it. Then let it dry over night. Shake off the excess glitter, and then put another thing lay of the mod podge dimensional magic down. It appears white-ish, but it will dry clear. It takes a few hours to dry, then you have a brand new ring.

Anyway, this is what it looks like! How cool is this


Happy crafting!