March is National Craft Month! Did you know that? Megan shared the news to me this morning in a text message. So, I stopped procrastinating and put together a post that I hope you enjoy.
Keith and I visited the Art Institute in Chicago for my birthday. I fawned over ancient Greek pottery, became absorbed in Monet's paintings and devoured a delicious chai tea while overlooking their modern wing. It was the best. And this happened:
 |
| What.a.babe. |
While, I was walking through an exhibit about Greek and Egypt and came across these two tiny wire wrapped ring of gold. I got really excited and pointed them out to Keith because I have been making these wire wrapped rings for a few years now and it was fun to see such early examples of them. So, I decided to try and make a tutorial on how to make them on this blog. It seems really complex, but it's not, I promise and soon you will be whipping them out in under three minutes.
Okay, you ready? Let's go.
You need:
- A bead
- Wiring, usually I get 18 gauge
- A mandrel (this you might need to order online)
- pliers (any craft store has)
- cuter (any craft store has)
- wire straightener (most craft store have this)
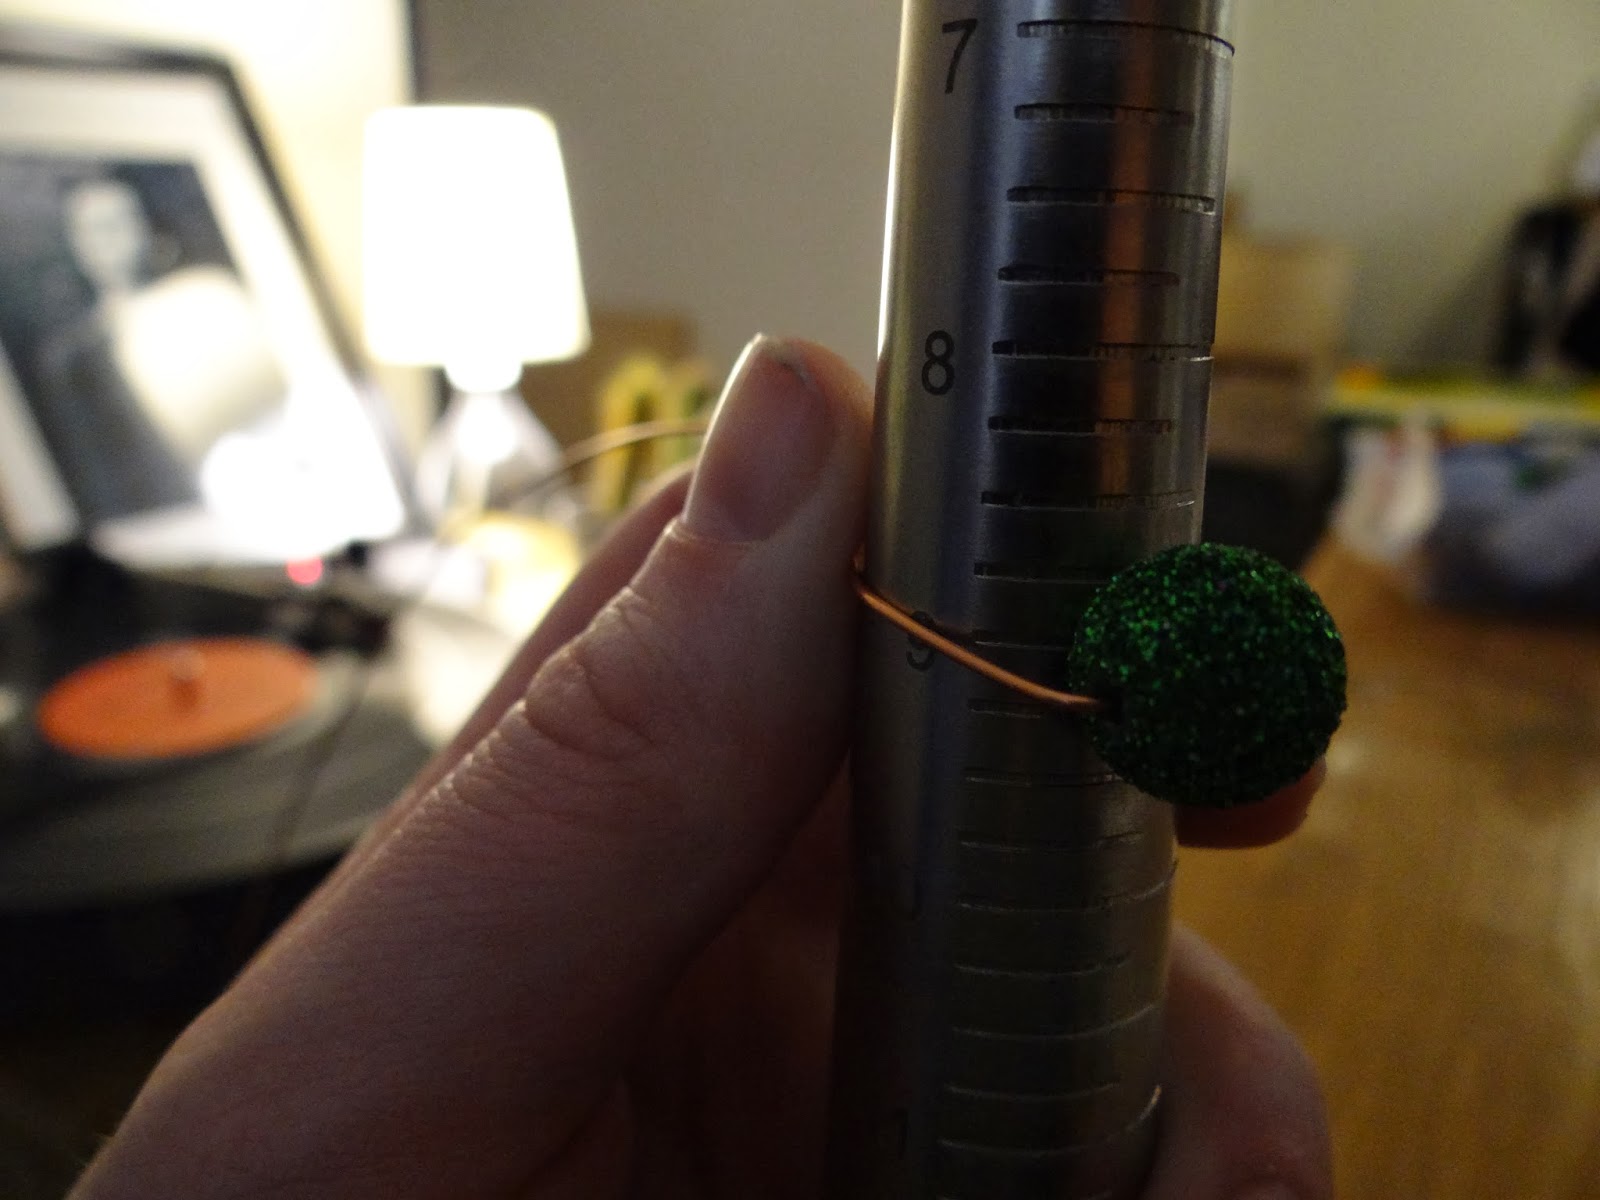
Cut a length of about two to three feet of wire. For a good rule of thumb if you are doing a full wrap, go three feet, only half or smaller go two. I usually just measure with arm spans. Once cut, straighten wire, by holding on end and running the straightener through the wire around three times. Try to get out all the kinks and this will make it a bit stronger too.
Move the bead to the center of the wire, and fold the wire gently to make a small indentation around the wire. Like so:
wire to the back end.
Wrap the wires around the back end so they cross over, like so.
Take one side of the wire and place over the bead, the other side goes under.
Take one of the ends and start to wrap around just the bead.
Once you have a good three or four loops around the bead, start with the other side of the wire and do the same amount.
Pick one side and start wrapping the wire around the base in small tight coils. You should be able to do this with your hand, but some gauges might need some pliers help. I always take the loose wire and wrap by going through the hole to the outside, like so:
Once you get one side, repeat with the second and try to make them even.
Clip off the extra wire and use your pliers to push the rough edges down so they will not hurt you when you wear them. Repeat on both sides.
There you have it!


No comments:
Post a Comment